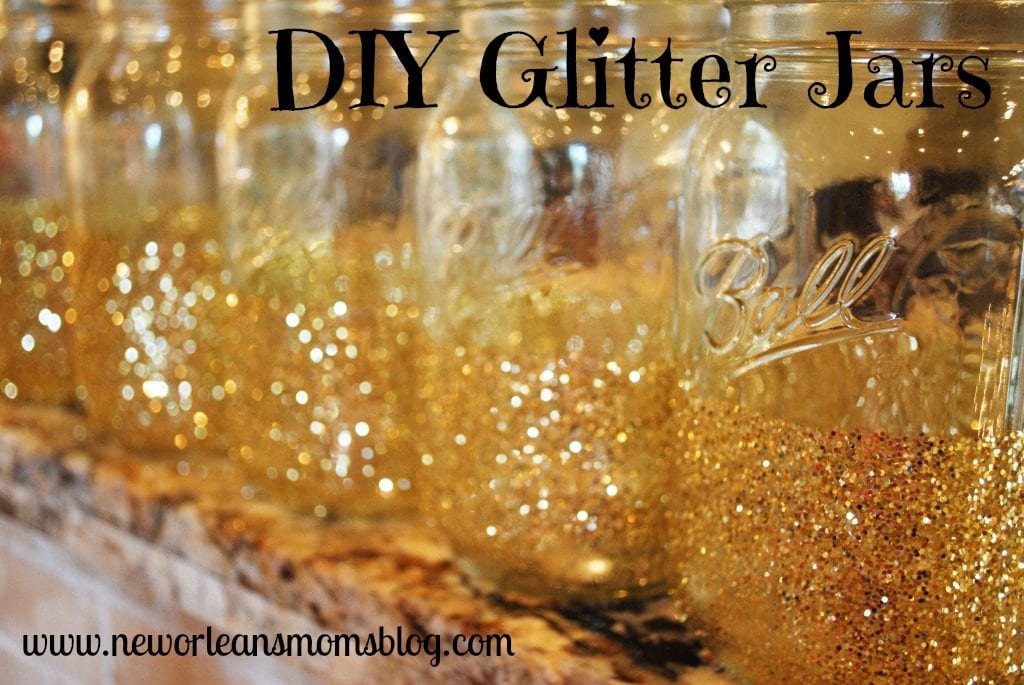
 During the summer as I was preparing for Stella’s first birthday party, I was looking for an easy, inexpensive way to fancy up her party without breaking the bank or spending a small fortune on Etsy. I had been searching Pinterest for ideas, and lo and behold, came up with an idea to “glitterize” some mason jars to use for vases and utensil holders for the party.
When we were prepping for the NOMB Moms Night Out, the team asked if I’d be willing to make a few more and use them for the event. They were a huge hit!
I need to disclose that while I like to think I am a crafty mom, it is purely a hobby for me and I am no expert! I wanted to share this easy DIY with you so you can feel free to add a little extra sparkle in your life when you see fit
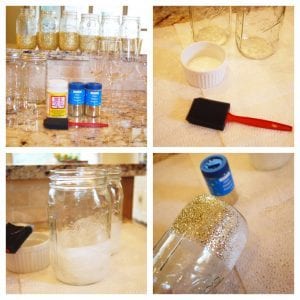
Materials
Clean, dry glass object of your choice (In this tutorial I used mason jars, wine glasses, champagne flutes and glass votives)
Sponge Brush
Small bowl or ramekin
Glitter (I used the inexpensive “Creatology” brand from Hobby Lobby)
Paper towels
Getting Started
Make sure your glass objects are scrubbed clean in hot soapy water and dried with paper towels or a dry dish towel. Any dust, stickers, wax, etc. will affect your sparkly results. Once the items have been completely dried, set up your station with paper towels, a small ramekin of Mod Podge, your glass items, and your sponge brush. Decide approximately where you’d like your rim to encircle the item (honestly I’m not that picky so I just eyeballed it as I went along).
Next step…glue & glitter time!
Begin with a fine layer of Mod Podge and lightly swipe an even layer of the glue mixture around the item. Make sure to use even strokes and not to have any clumps. You need to move quickly as the glue begins to dry fast since it’s such a thin layer. Once you are satisfied with your glue, lightly sprinkle the glitter over a paper towel around the object, turning as you go. Add as much as you see fit, slightly shaking as you go to avoid clumping. Set aside in a dry cool area once finished. I usually do one at a time to prevent the glue from drying on other pieces while I’m glittering.
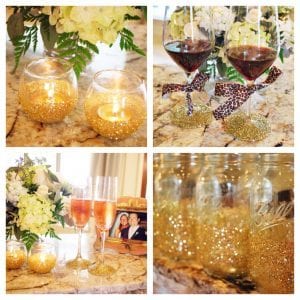 I decided to kick it up a notch and make some glittery votives, wine glasses and champagne flutes in honor of my hubby and I’s eight-year anniversary this month. I used the same techniques as described above, adding a thin layer around the votives (I did the bottom of the votives as well) and the base of the wine and champagne flutes (opted not to glitter the bottom of the wine glasses). I think these would make perfect gifts for birthdays or holidays and plan on gifting these to some family and friends in the near future! For this project, I used things that I already owned, but World Market has a great selection of single stemware and votives. The mason jars can be found at most local groceries, Hobby Lobby, Target & Wal-Mart as well. If you have any questions about this DIY tutorial, please feel free to email me at trish (at) neworleansmomsblog (dot) com.







I do consider myself crafty…somewhat! I love these & will be trying them!
LOVE these! I want to glitter everything in my house now. 🙂
I do consider myself craft. I like to do all kinds of crafts and tend to host craft nights once a month for our church. 🙂
I pretend I’m super crafty. I mod podge pictures onto canvas and we do lots of simple sticker projects with foam.
I’m not crafty but I like to pretend I am…
These are so awesome! They add such a great touch. Can’t wait to try these, maybe for a Christmas party!
Trish,
I am so happy you took the time to post these glitter jars. I have seen these and always thought it would be a lot more work, your post inspired me to GO FOR IT!!! I am planning my daughters 11th “golden birthday” as we speak and this will be a perfect compliment to the decor!
Thank you, wish me luck 🙂
P.S. I would love to win your votives!!!
I am semi-crafty – don’t really understand pinterest so stay away from that one! But my kids love to get involved in craft activities when they come up!