")


Little did I know that eleven years ago on my son’s first birthday he would get a gift that would become a family tradition! My son Blake received a butterfly garden for his first birthday. I didn’t think much of it at the time. To be honest, it went into the closet with all the “extra” toys! About three years later, I decided to take it out and see what it was all about. It had a voucher for a cup of caterpillars to get started! From that Spring on, we look forward to a cup of caterpillars arriving in our mailbox each Spring.
Step 1: Awaiting your Caterpillar Arrival
To get started, go to www.insectlore.com and purchase the butterfly garden with a voucher or if you already own the kit, you can just order the cup of caterpillars. Before you know it, you will receive a cup of 5 tiny caterpillars. The caterpillars come with the food they need. Once they arrive, place them indoors in a safe place. In about 7-10 days, these minuscule caterpillars will grow exponentially!
Step 2: The Chrysalis Stage
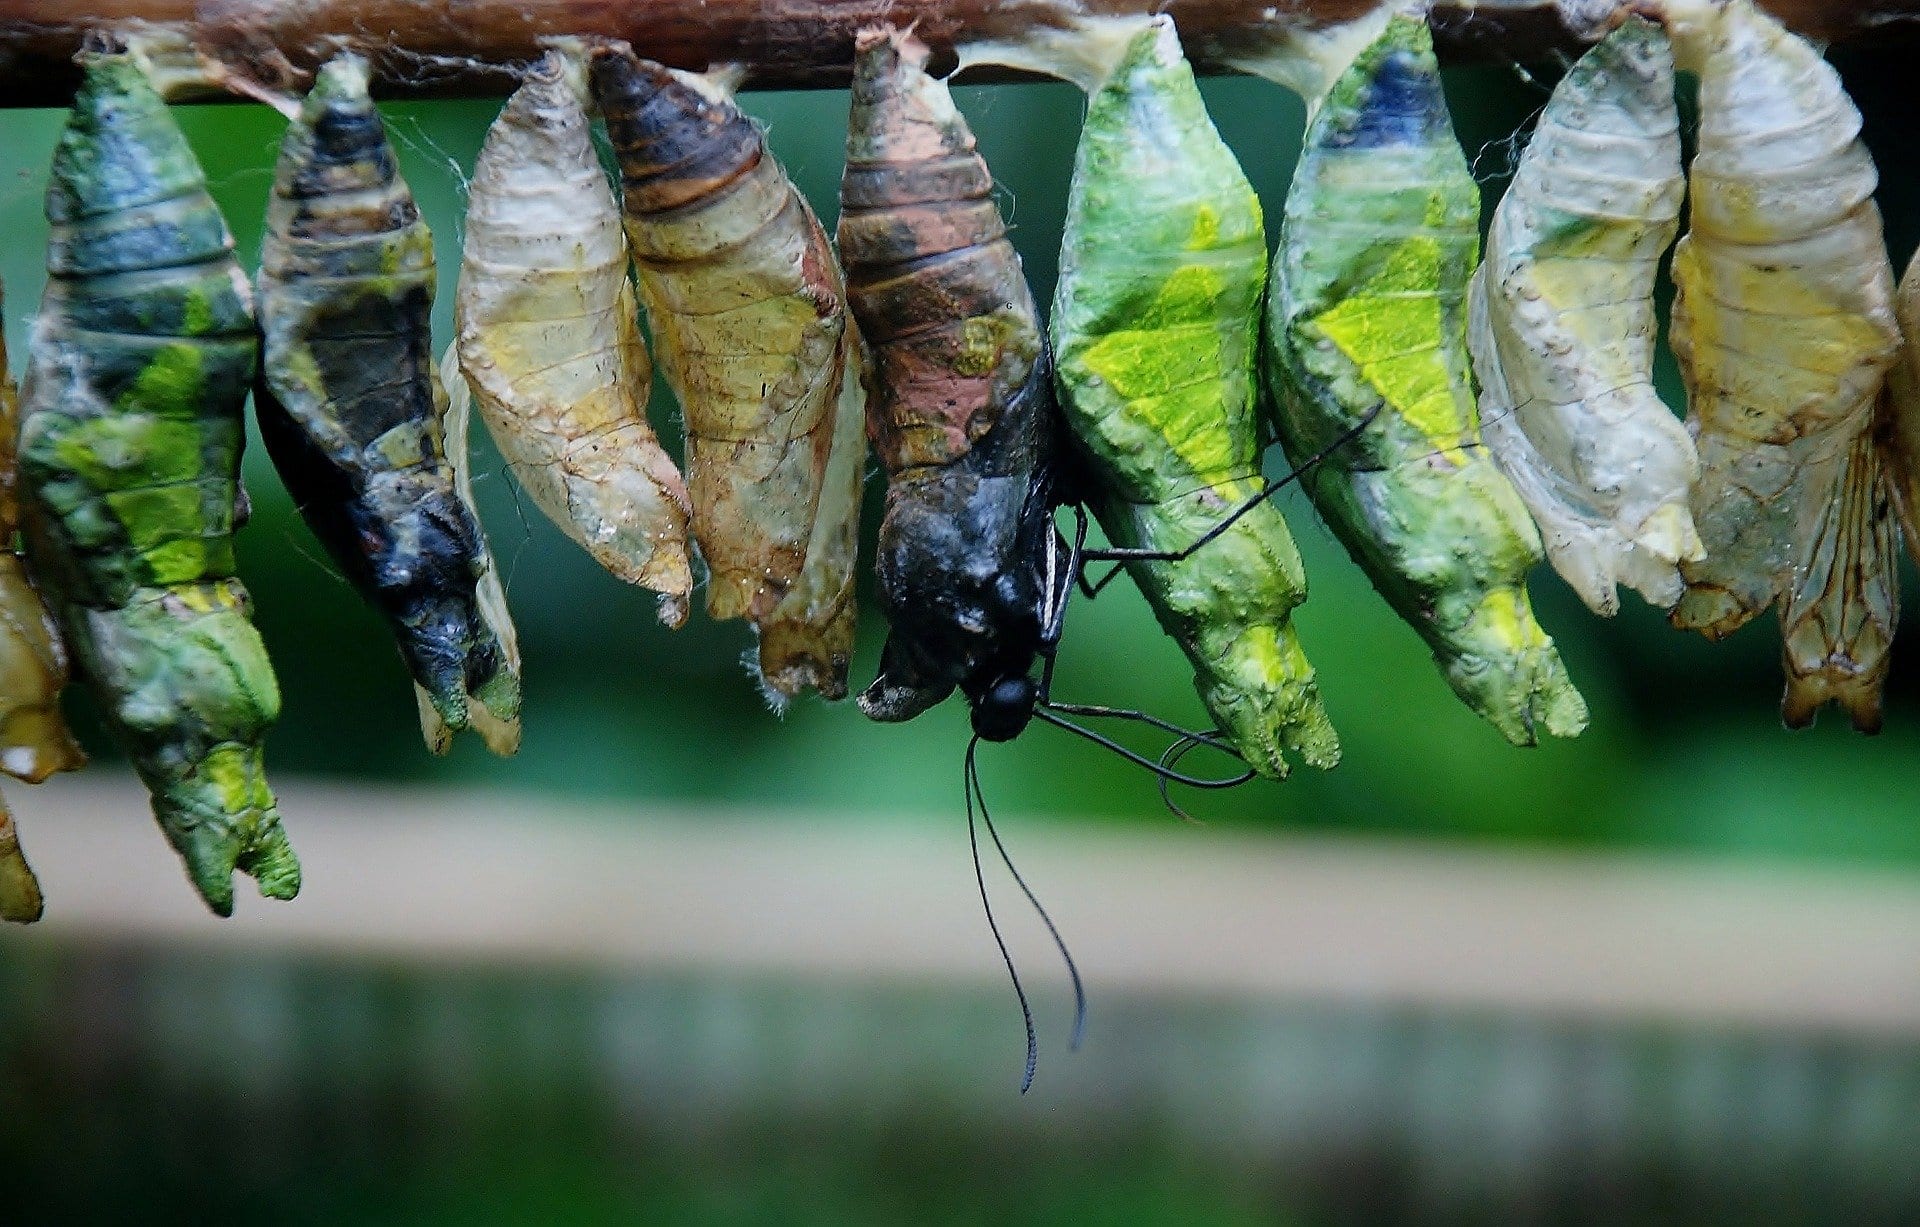

Once you notice the increase in the size of your caterpillars, you will notice them making their way up to the top of the jar. At this point, they transform from caterpillar to chrysalis. In a matter of days, all five caterpillars will make their way to the top and form a chrysalis and harden. They look like they are dangling by a thread! The transformation to this phase is quite amazing for children. It’s literally happening before their little eyes!
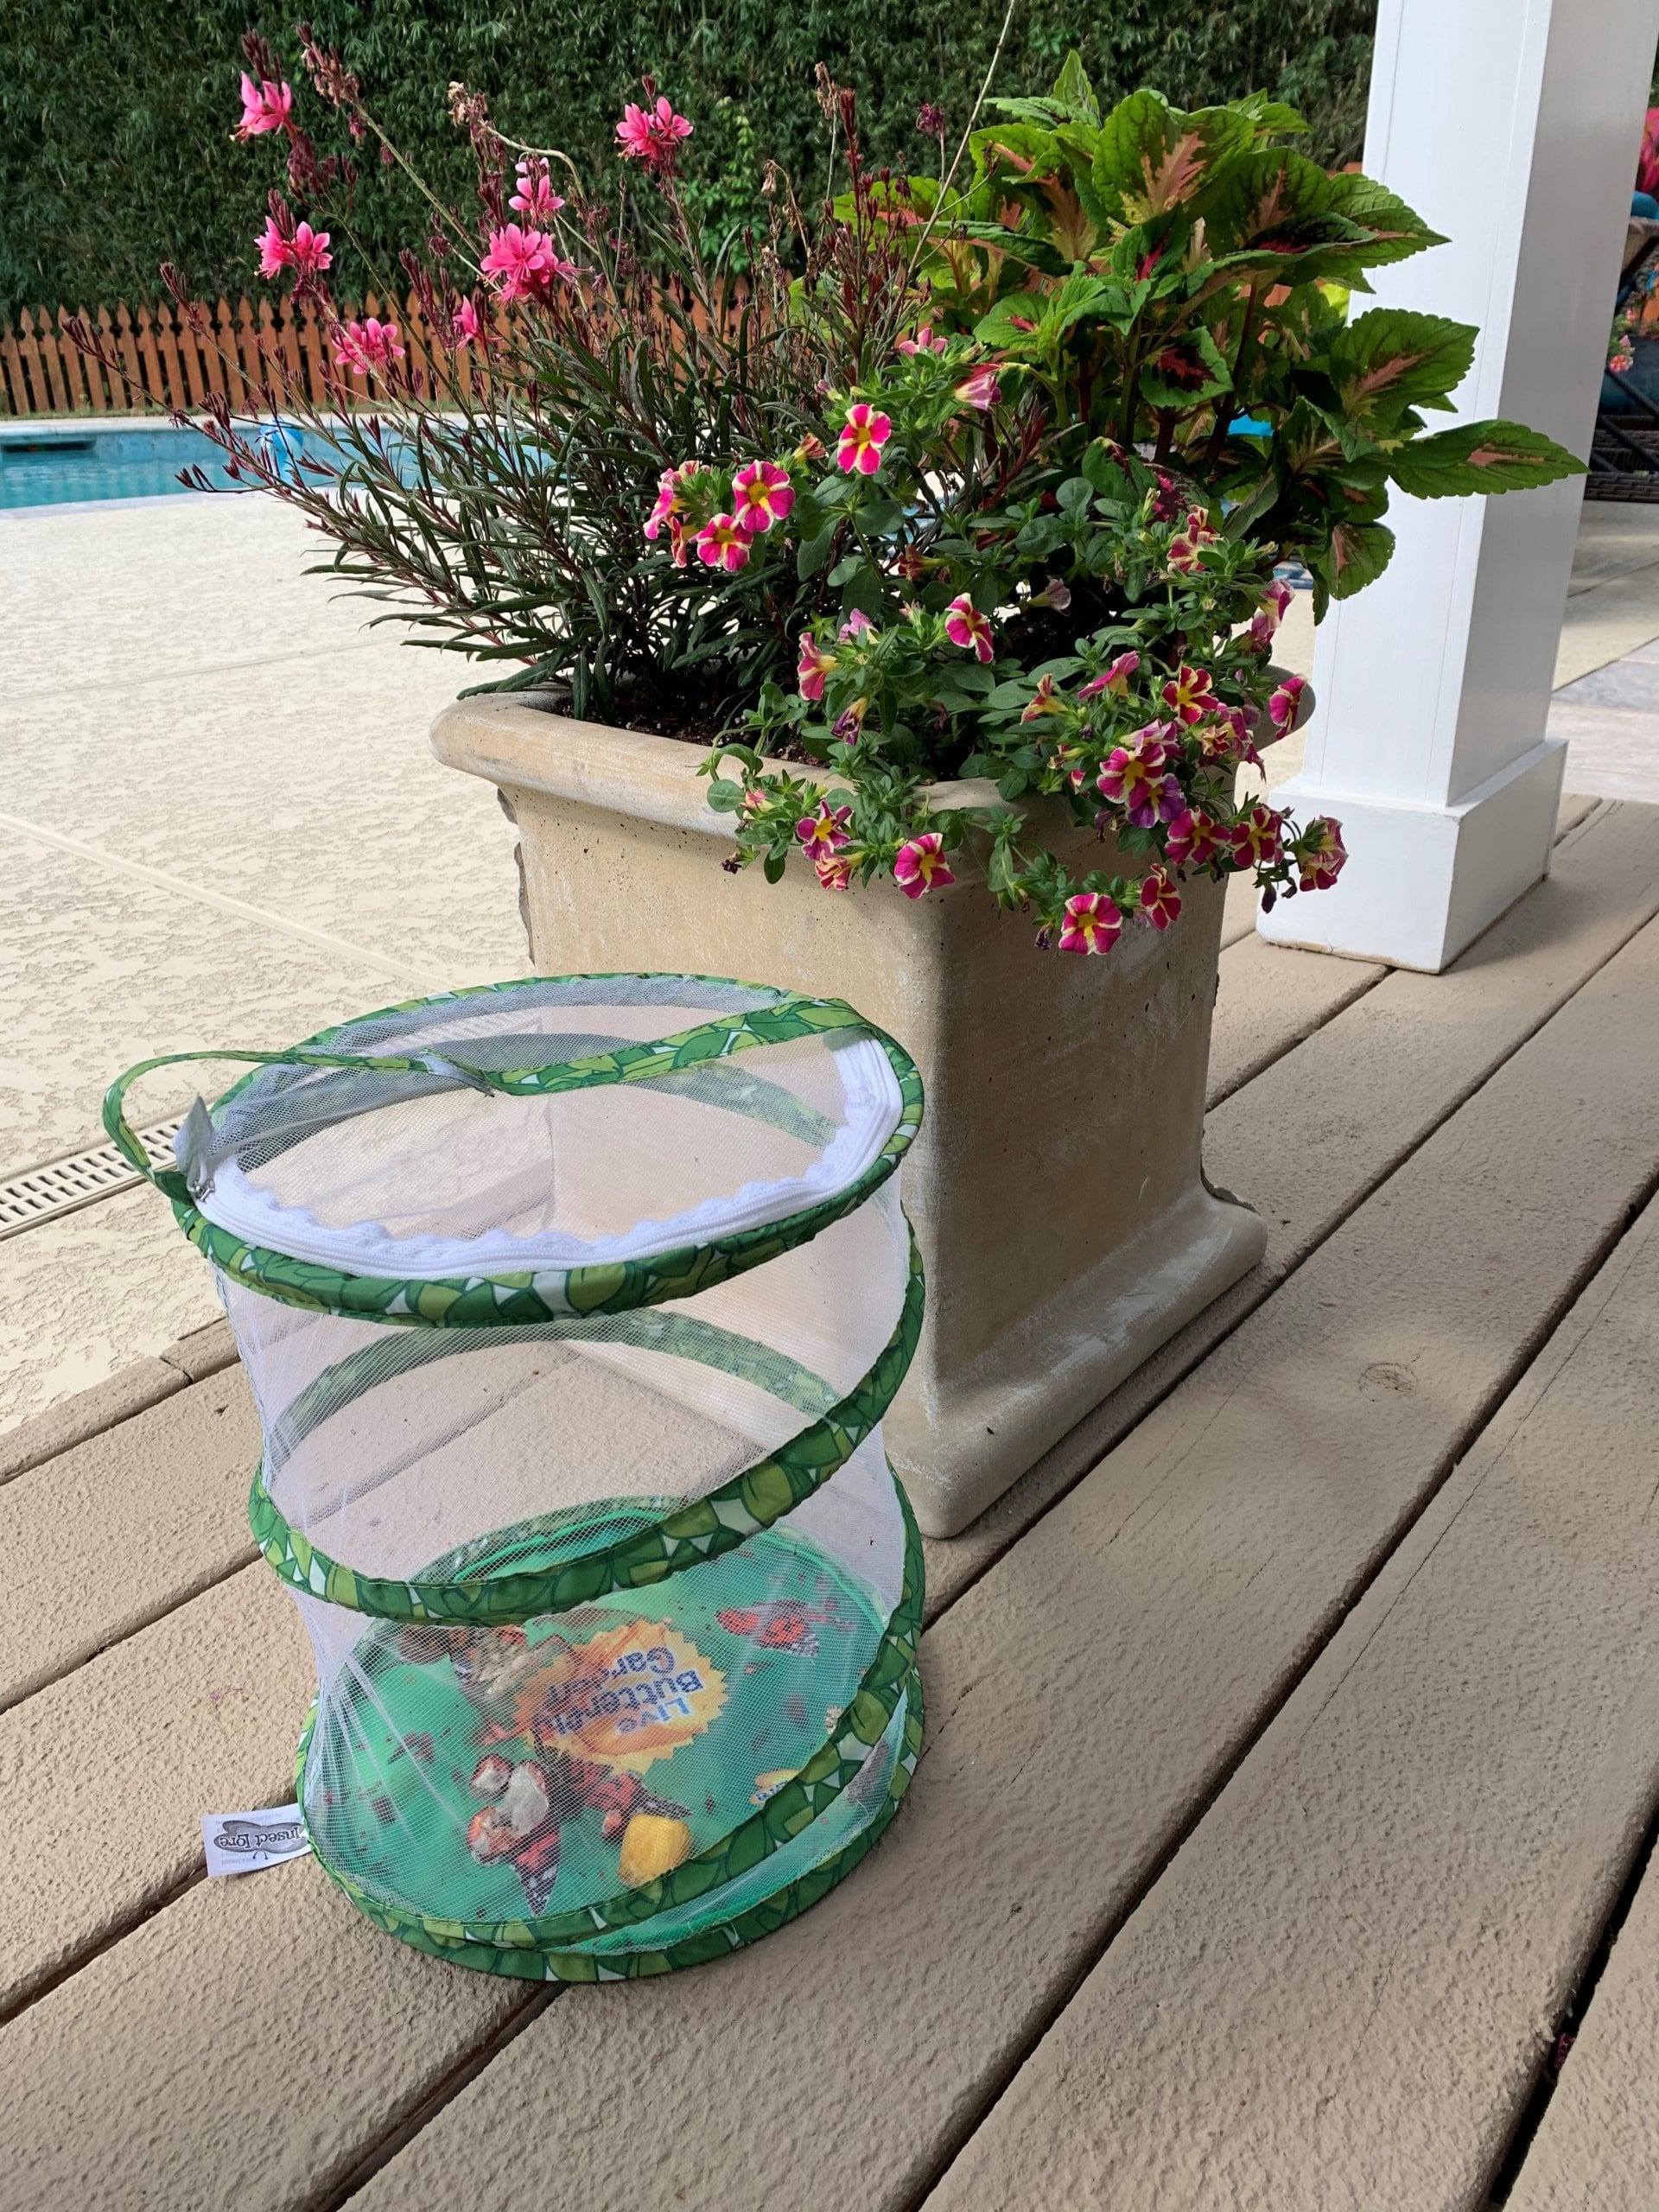
Step 3: The Butterfly Net
Once all five chrysalises’ have formed and hardened, gently pull off the top of the jar and place it inside of the butterfly net on the holder provided in the kit. In about another five to seven days, you will check on your chrysalis’ and notice just a shell and a beautiful butterfly flying around inside the net. The butterflies usually hatch within days of one another. Once the butterflies begin to hatch, place sweet raw fruit, such as a sliced orange or strawberry inside of the net for the butterflies to feed on. Enjoy the wonder of watching the butterflies in the butterfly net before the final release!
Step 4: The Release
This is absolutely my favorite part! Once you have watched these beautiful creatures for a couple of days, it’s time to release them into your garden. I always gather my boys and we take the net outside near a large azalea bush. We carefully unzip it, with a finger out for the butterfly to land and set it free to fly, one by one. What a beautiful sight! I always time my purchase of caterpillars around 4 weeks before Easter, as the temperature is perfect and it’s the season of LIFE!
This tradition has held true every Spring for our family, even as my kids get older. While spending time with your family this Spring, take a moment to do this fun activity together. It’s amazing to watch something living transform into something so beautiful right in your own backyard. Who knows, it may become your tradition too!